For FUNMAT PRO 610HT and FUNMAT PRO 410 users only.
Before you get started
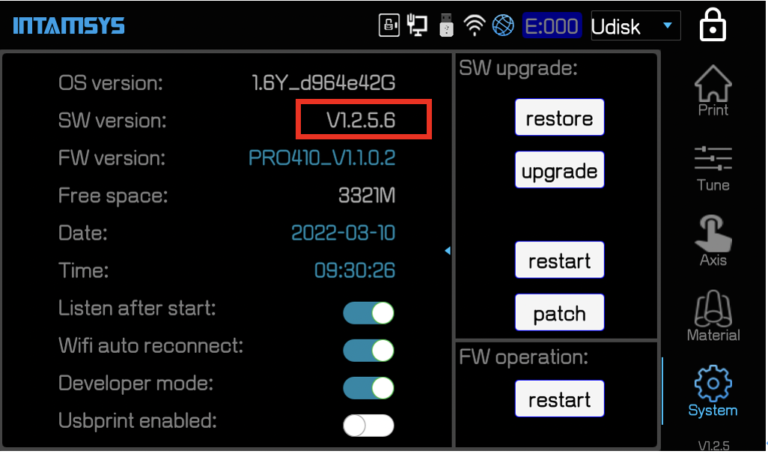
Upgrade Printer TouchScreen to latest Version
Upgrade Steps :
1) Copy the file named “Desktop”and folders named “Openssl”,”resources” into U Disk root folder
2) Insert the U disk to printer
3) On touchscreen, go to the System button (bottom right) and press the “Upgrade” button to upgrade the software step by step
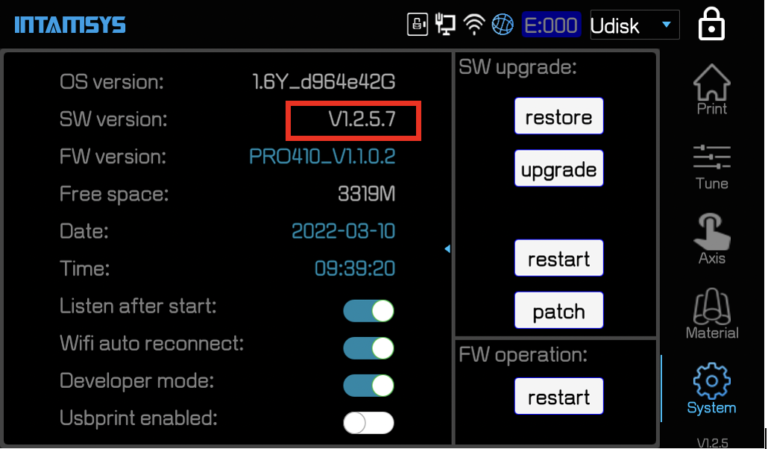
4) Repeat Step 2) and 3), to upgrade again the SW
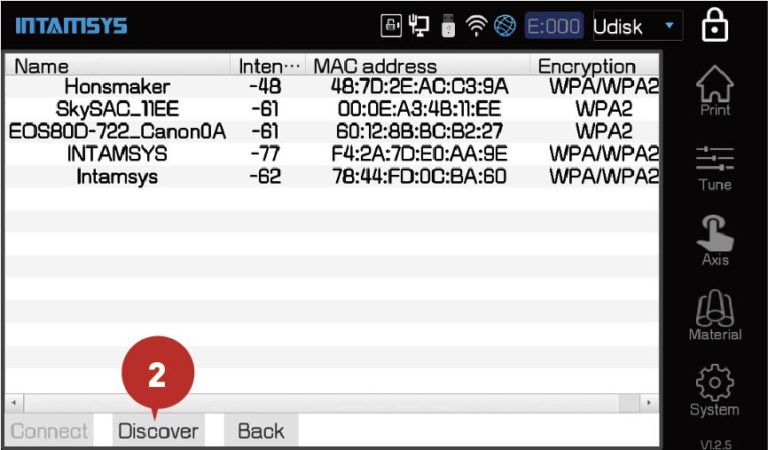
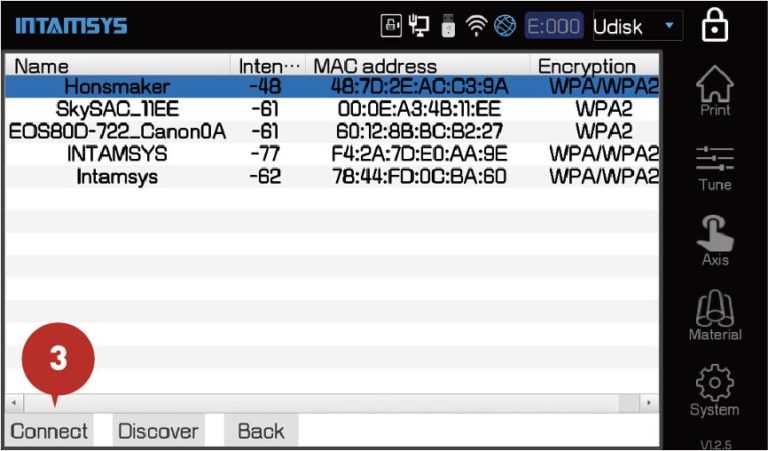
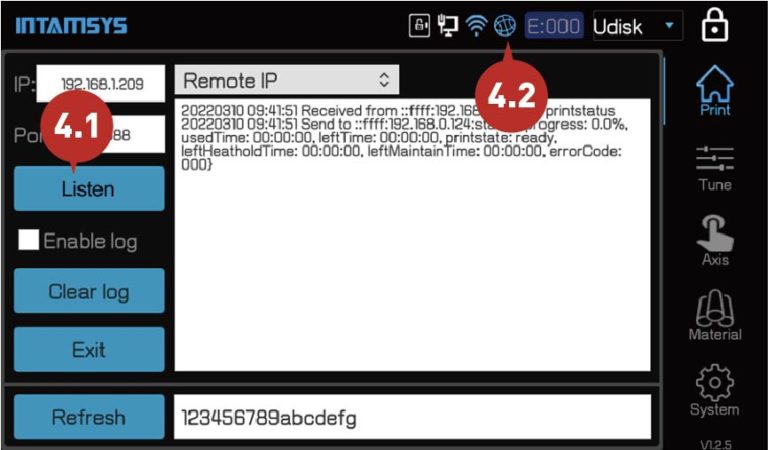
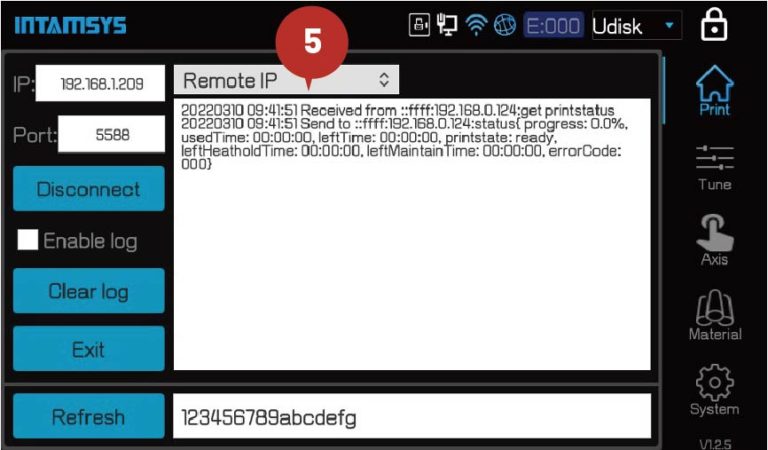
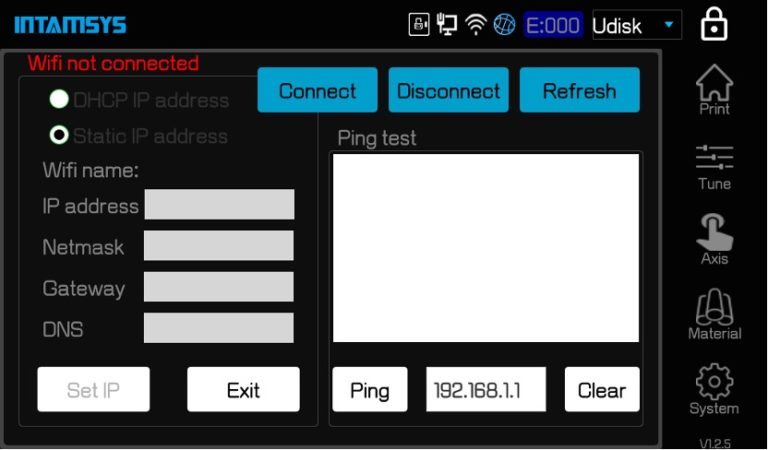
Connect via WIFI
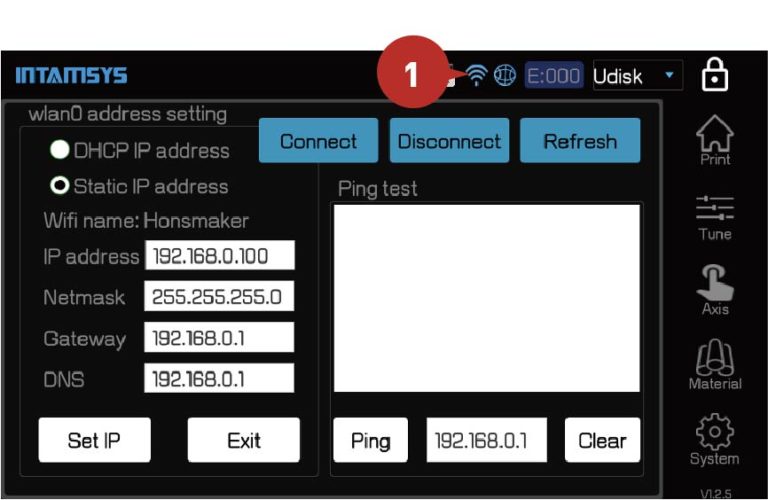
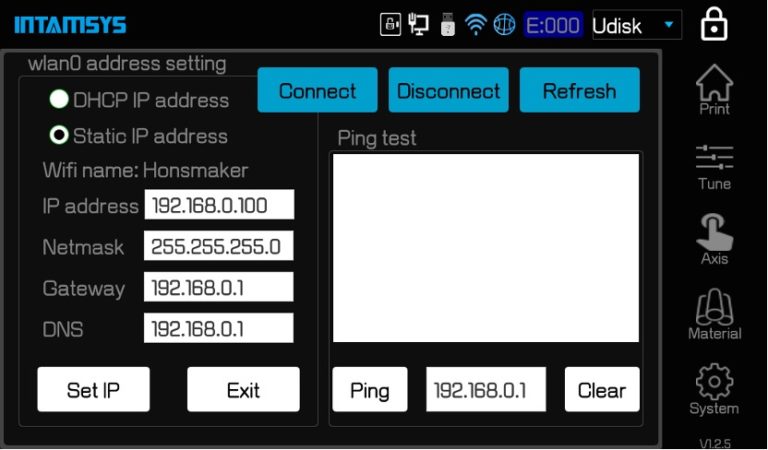
Connect via Ethernet (LAN)
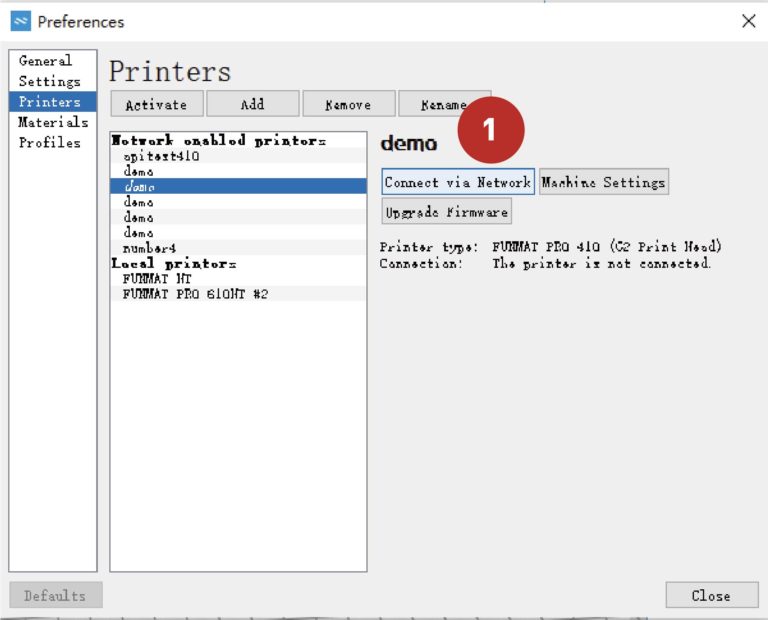
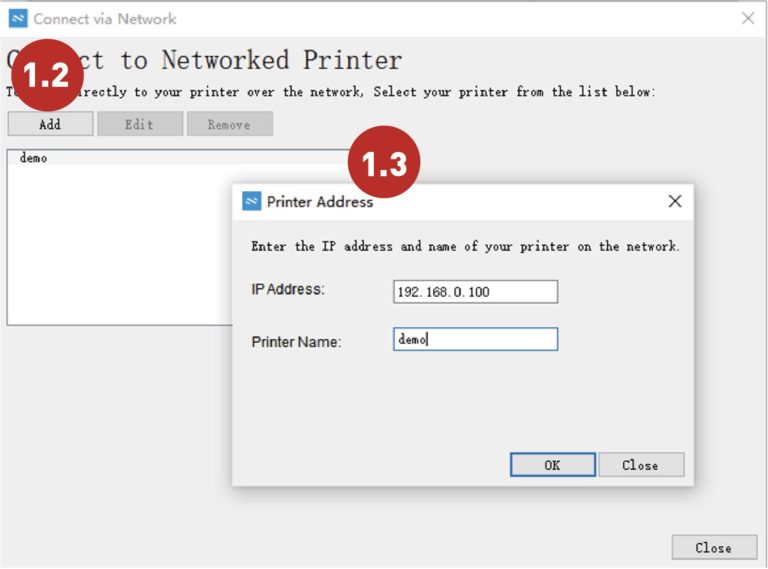
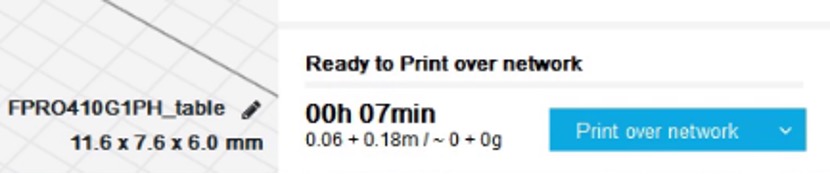
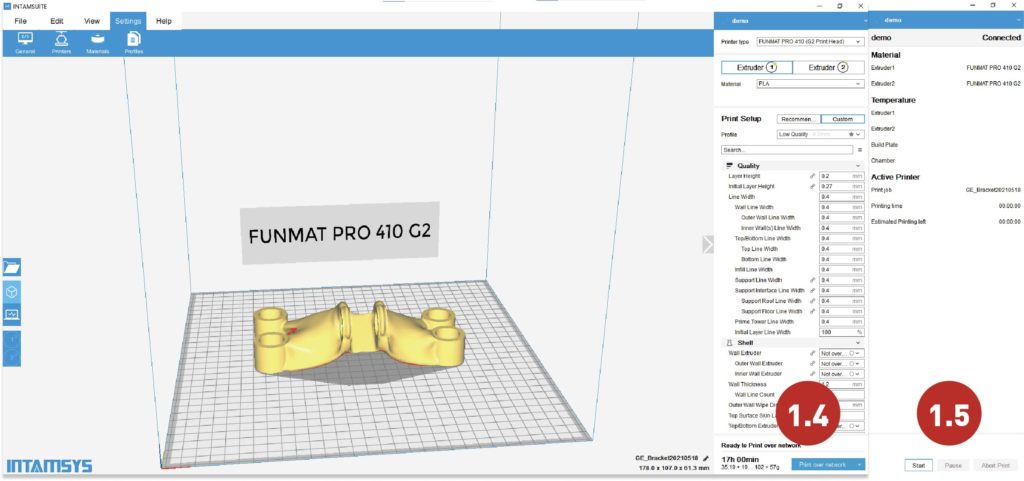
Remote Print from INTAMSUITE (Desktop)
Main Features:
Upload the Gcode file to a printer from the desktop.
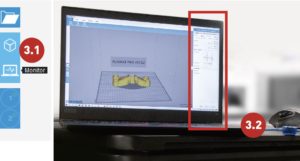
Monitor parameters on printer remotely
Start/Pause/Resume/Stop printing task remotely
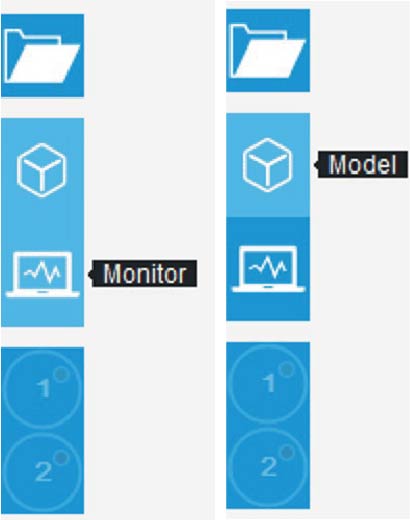
Tip: click Model button to switch back to Model/Slicer Mode
Send Gcode file using FTP
Main Features:
Upload Gcode file to a printer from the desktop
a. Upload Gcode files to a printer using windows explorer or web browser
User Name: root
Password: intamsys
Type: ftp://xxx.xxx.x.xxx in windows explorer or web browser
Example:
IP address: 192.168.2.176 (ip address on the printer)
ftp://192.168.2.176
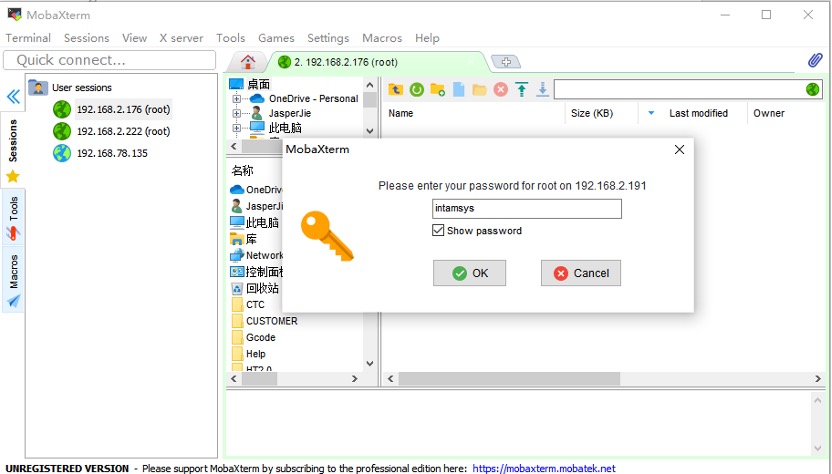
b. upload Gcode files using 3rd party FTP tools
User Name: root
Password: intamsys
Example:
A tool named “MobaXterm” or other 3rd party free ftp tools.
Main Features:
1) User Login (Password/Token)
2) Monitor printer parameters on the machine
3) Upload Gcode files
4) Remote print
v1.0.0
This is the API design document of INTAMSYS INTAMTOUCH Remote Access module. Some changes are expected from time to time during function architecture and development, so there is no guarantee what you get finally is the same as what you see currently before we announce the official release.
The template of API URI like http://{ip}:5588/v1/{api interface}
{ip} represents printer IP
Example: http://192.168.2.38:5588/v1/login
Attention: Url need to be encoded to UTF-8 to prevent special characters
User
GET User authorization
GET /login
User login and get new token
Example request URI: http://{ip}:{port}/v1/login?signin={password_on_printer}
File
GET Get print files list
GET /fileops/printfiles
Get the list of print files. URI=http://{ip}:{port}/v1/fileops/printfiles?num={max_number}&sort={sort_type}&token={token_string}
Printer
GET Get all nozzles’ temperature
GET /printer/nozzletemperature
Get all nozzles’ temperature. URI=http://{ip}:{port}/v1/printer/nozzletemperature?token={token_string}
GET Get printer system info
GET /printer/system
Get printer system info, like firmware version, machine id, machine type.
URI=http://{ip}:{port}/v1/printer/system?token={token_string}
GET Get all filaments’ temperature
GET /printer/filamenttemperature
Get all filaments’ temperature. URI=http://{ip}:{port}/v1/printer/filamenttemperature?token={token_string}
GET Get chamber temperature
GET /printer/chambertemperature
Get temperature of the chamber. URI=http://{ip}:{port}/v1/printer/chambertemperature?token={token_string}
GET Get printer basic temperature
GET /printer/basictemperature
Get the basic temperature.URI=http://{ip}:{port}/v1/printer/basictemperature?token={token_string}
GET Get water cooling temperature
GET /printer/watercoolingtemperature
Get water cooling temperature. URI=http://{ip}:{port}/v1/printer/watercooling?token={token_string}
GET Get the specified filament weight
GET /printer/filamentweight/{filament_chamber_index}
Get weight of the material in the specified filament. URI=http://{ip}:{port}/v1/printer/filamentweight/{filament_chamber_index}?token={token_string}
GET Get the specified filament temperature
GET /printer/filamenttemperature/{filament_chamber_index}
Get temperature of the specified filament. URI=http://{ip}:{port}/v1/printer/filamenttemperature/{filament_chamber_index}?token={token_string}
GET Get vacuum status
GET /printer/vacuum
Get vacuum status. URI=http://{ip}:{port}/v1/printer/vacuum?token={token_string}
GET Get front door status
GET /printer/frontdoor
Get front door status. URI=http://{ip}:{port}/v1/printer/frontdoor?token={token_string}
GET Get current printer alarm information
GET /printer/currentalarm
Get printer’s current alarm information . URI=http://{ip}:{port}/v1/printer/currentalarm?token={token_string}
GET Get the specified nozzle temperature
GET /printer/nozzletemperature/{nozzle_index}
Get temperature of the specified nozzle. URI=http://{ip}:{port}/v1/printer/nozzletemperature/{nozzle_index}?token={token_string}
GET Get all filaments’ weight
GET /printer/filamentweight
Get all filaments’ weight. URI=http://{ip}:{port}/v1/printer/filamentweight?token={token_string}
GET Get build plate temperature
GET /printer/buildplatetemperature
Get temperature of the build plate. URI=http://{ip}:{port}/v1/printer/buildplatetemperature?token={token_string}
GET Get printer running status
GET /printer/runningstatus
return machine running status,like idle, in the printing, in the calibration. URI=http://{ip}:{port}/v1/printer/runningstatus?token={token_string}
GET Get current job info
GET /job/currentjob
get a full list info of current job. URI=http://{ip}:{port}/v1/job/currentjob?token={token_string}
JOB
POST Resume the current job
POST /job/currentjob/resume
Resume the current job. URI=http://{ip}:{port}/v1/job/currentjob/resume?token={token_string}
POST Start new print job
POST /job/newjob/start
start a new print job with a specified file (from printer locally). URI=http://{ip}:{port}/v1/job/newjob/start?name={gcode_file_name}&token={token_string}
*gcode_file_name can be retrieved from the /fileops/printfiles API
POST Pause the current job
POST /job/currentjob/pause
Pause the current job. URI=http://{ip}:{port}/v1/job/currentjob/pause?token={token_string}
POST Abort the current job
POST /job/currentjob/abort
Abort the current job. URI=http://{ip}:{port}/v1/job/currentjob/abort?token={token_string}
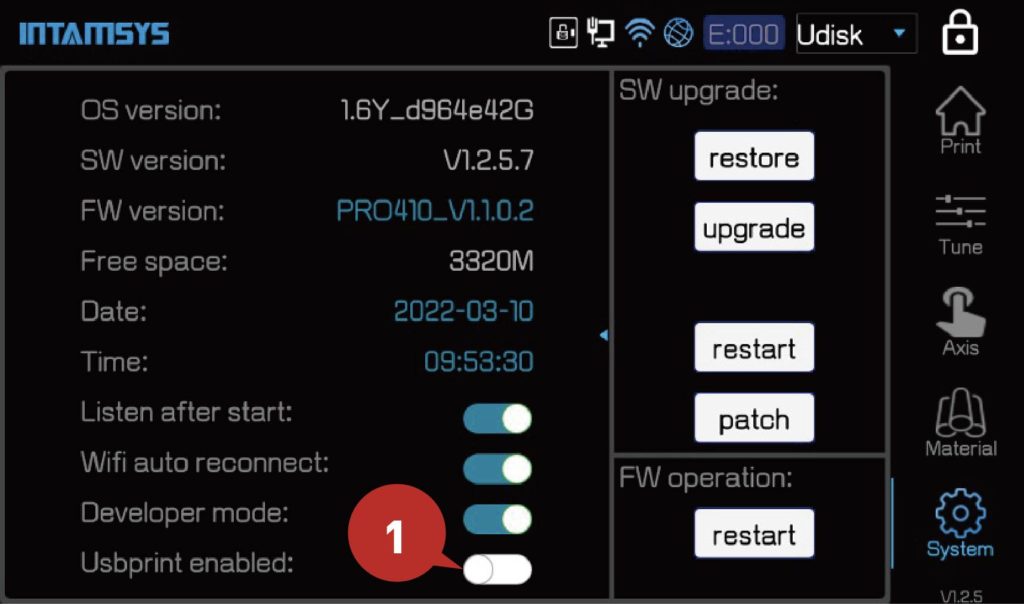
USB Print Mode (via USB cable between PC and Printer)
Main Features:
Save Gcode file to a printer from the desktop
Start Job or control machine from INTAMSUITE
1.Select the USB Print Mode and Enable it from the FUNMAT PRO 410 Touchscreen (under System menu/button)
2.Connect the USB cable to the machine and your computer.


3. Launch INTAMSUITE, in Monitor Mode, start printing or control machine.
USB Print Mode (via USB cable between PC and Printer)
Main Features:
Save Gcode file to a printer from the desktop
Start Job or control machine from INTAMSUITE


Copyright © 2023 | INTAMSYS TECHNOLOGY CO., LTD. | All Rights Reserved.
沪ICP备16045262号-1